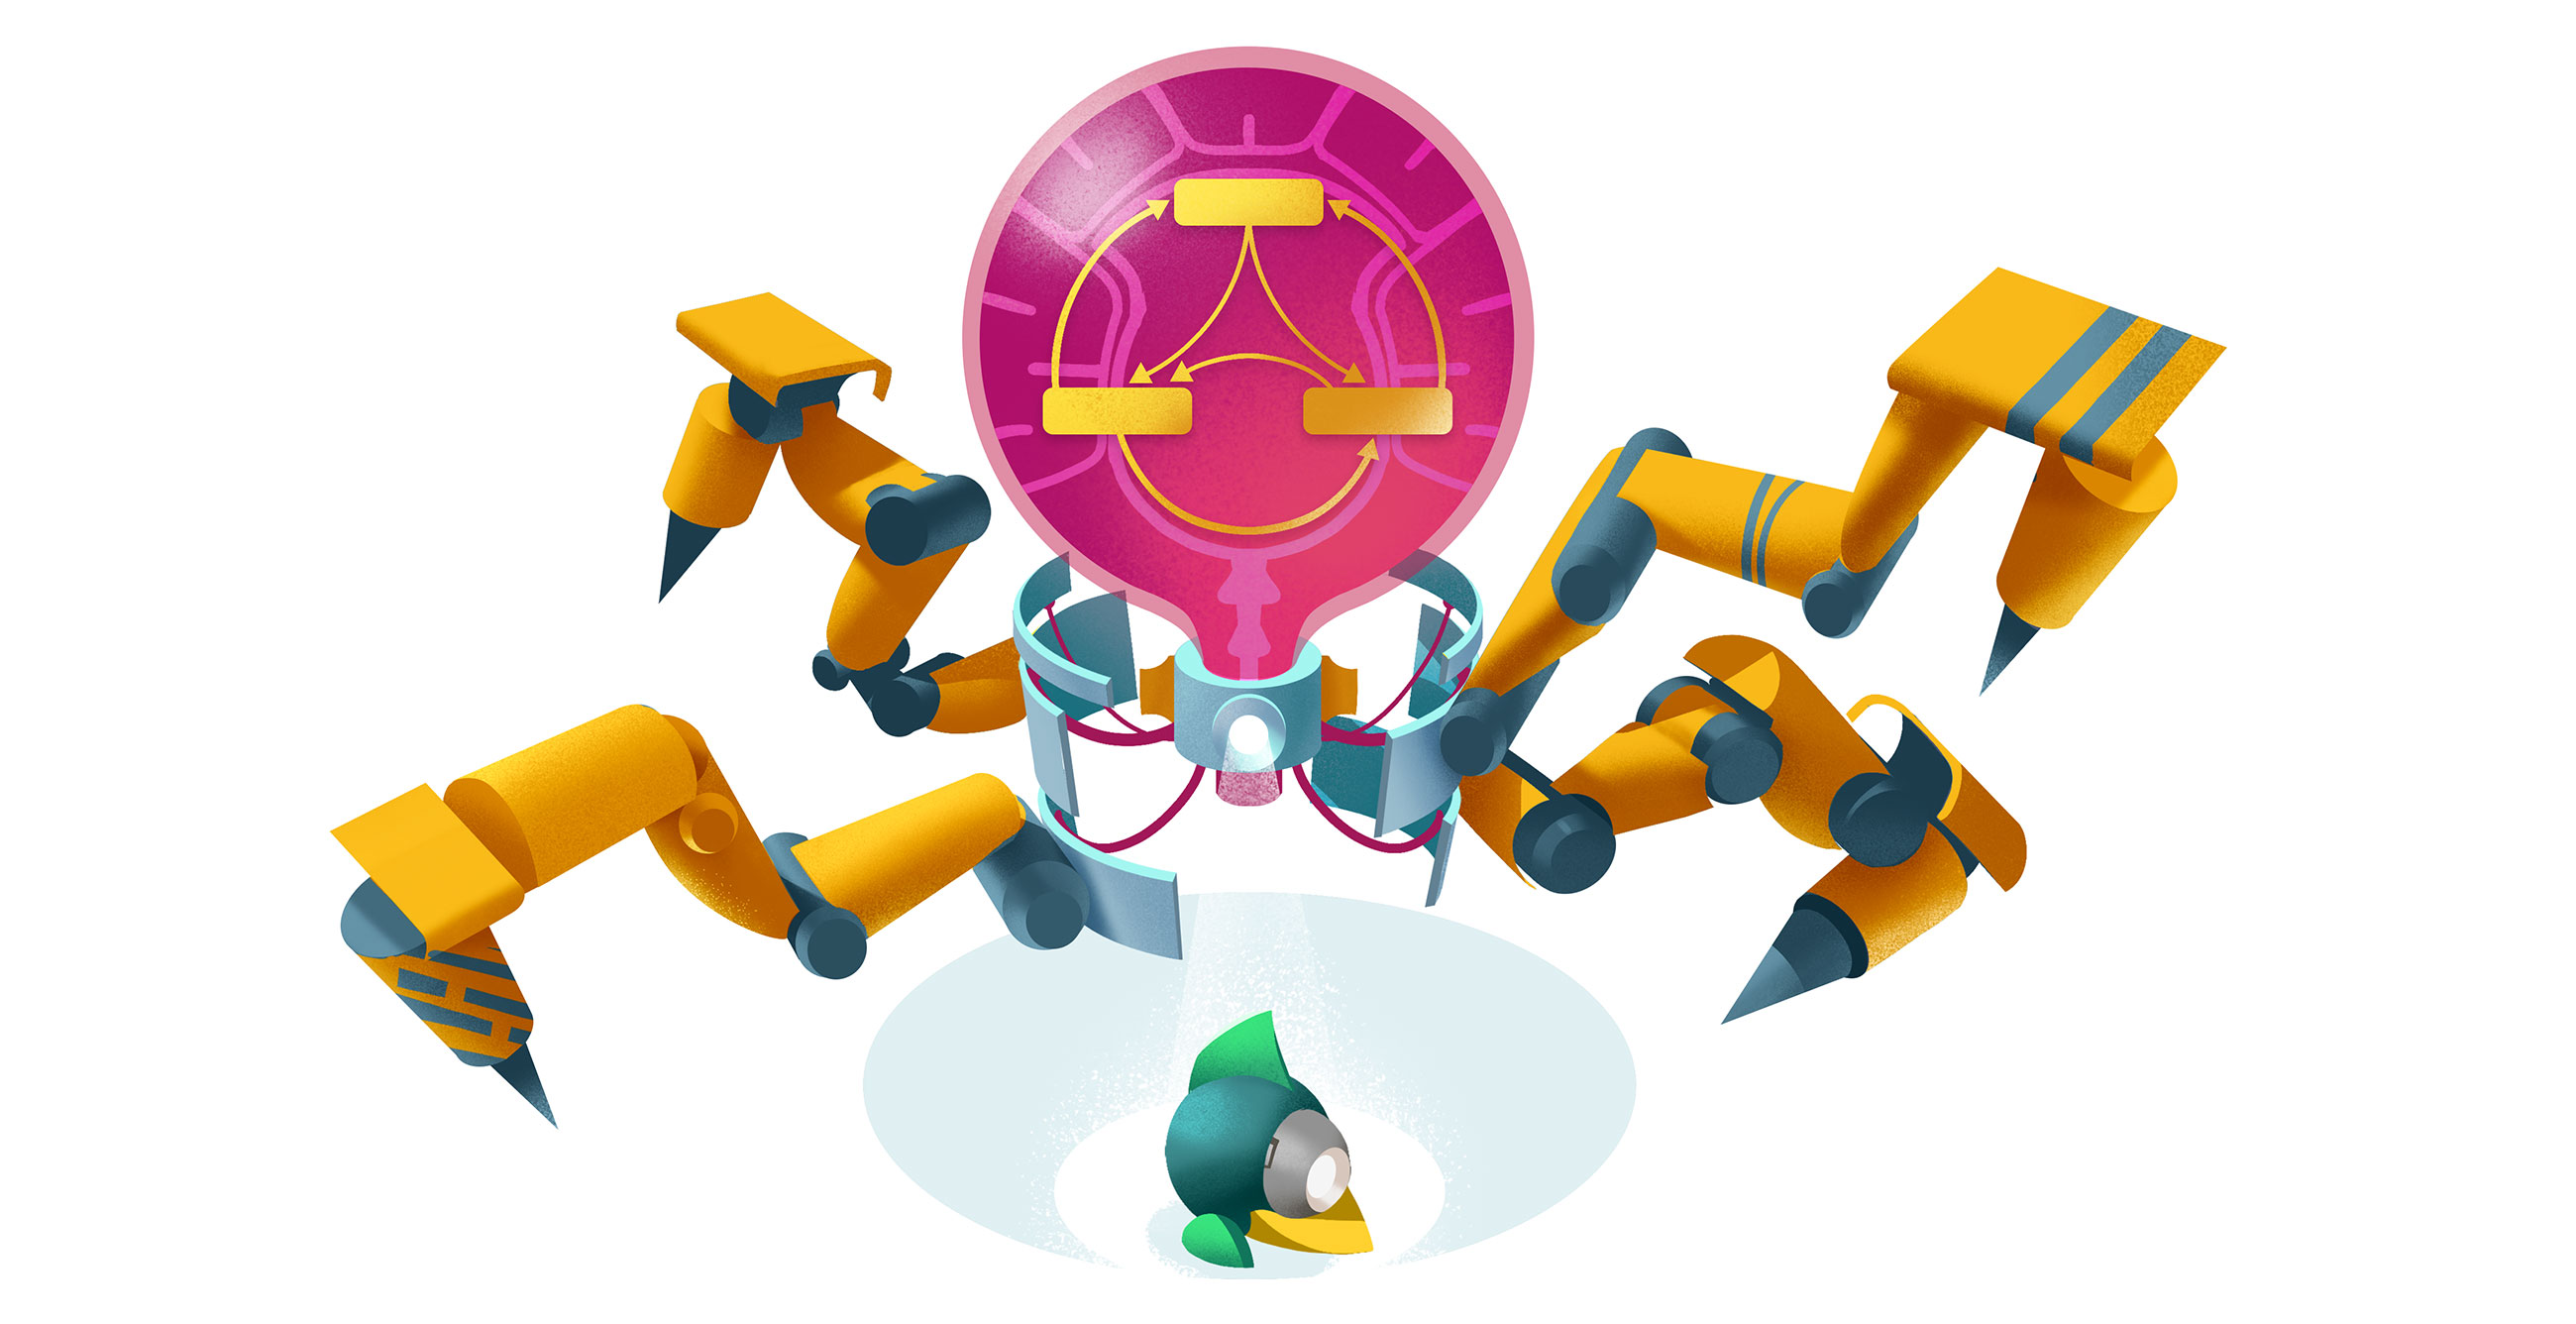
State Machines in React
One of the biggest pain points when developing an app is the tricky business of managing state. Many bugs are caused by things getting into unexpected states, or by race conditions. Finite state machines can help eliminate both types of bugs entirely, while providing a welcome, structured way to build components.
When to use a State Machine?
I build my education games using a ton of separate little state machines. Every single level is its own state machine, allowing complex flows like fail/tryagain/hint states. My characters are state machines.
But I've found state machines to be an excellent fit for regular UI components as well. Menus, Panes, Dialogues, Buttons, you name it. State machines are perfect for them all.
These days the excellent XState library makes using state machines on the web easy.
State Machine Components
I like to organize most of my code as React components. The component is such a perfect unit of abstraction. But as David Khourshid pointed out, every React component is actually an "implicit state machine" — cobbled together based on the component's spread out logic. Components on their own are pretty awesome. But a component driven by an explicit state machine is even better.
The Brain
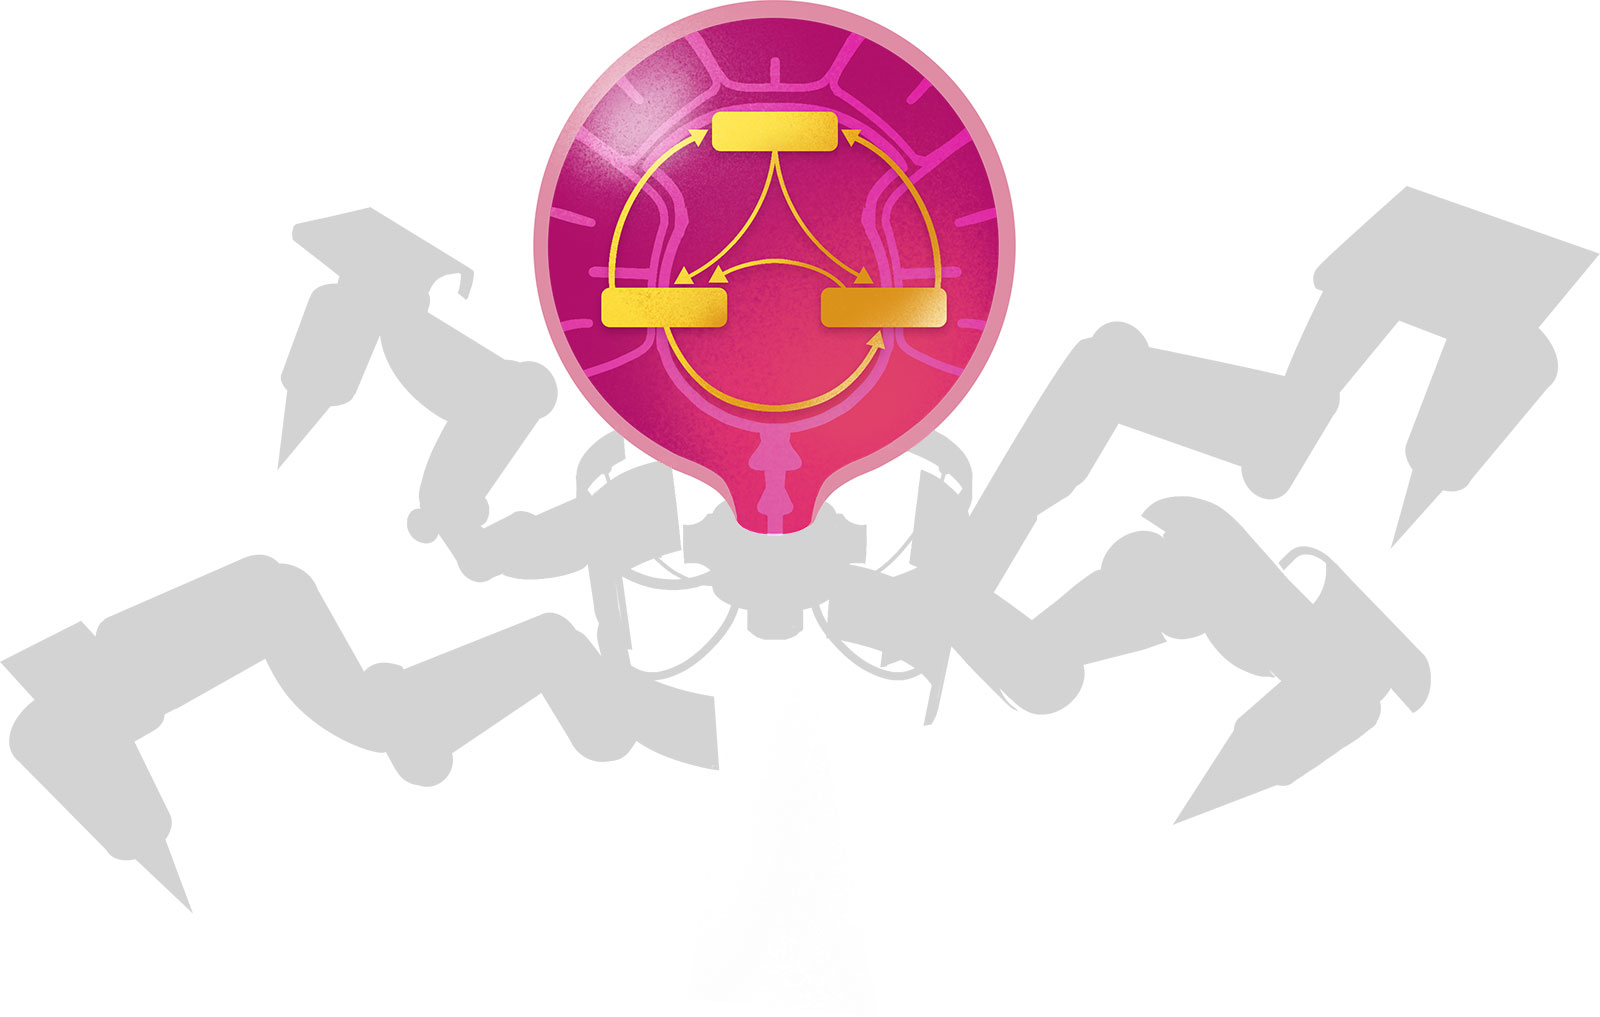
The state machine is the brain of the component. Its jobs are to:
- define all the possible states the component can be in
- define all allowed transitions between states
- list any actions (side effects) that can happen, and exactly when they should happen
The Body

The React component is the body. It reacts to its state machine brain and:
- implements the actions/services/effects that the brain wants to take place
- renders a UI based on the state machine's current value
- causes the brain to take new transitions to new states, often in response to user interactions
Let's Build One!
Let's create a Menu state machine component similar to the one in Service Workies.
Layout
To start I've whipped up a fairly standard React component, structured it using the fantastic CSS Grid (which BTW you too can master easily by playing Grid Critters).
You can edit this layout on codesandbox if you'd like. It looks like this:

Define the Brain
Now let's give this thing a state machine brain. To do that we brainstorm all the possible states this component can be in. You might think "oh there's just two states — open and closed". But not so! We're going to be animating the Menu open and closed, so we actually have four states: open, opening, closed, and closing.
Wait Why Not Just Use a Boolean?
Being explicit about all our states lets us avoid bugs and conditional logic soup like this:
if (!isOpen && isAnimating && isActive) {
  // do a thing based on boolean combo
}
Using state machines instead of booleans also prevents the component from being in impossible states such as isOpen being false and isAnimating being true at the same time. What would happen if we tried to animate the Menu even though it's currently closed? That'd be a bug! The world has too many Jira tickets as it is. Using booleans for state can be problematic, see this thread for more details.
Alright so here's the start of our state machine that simply lists all the possible states and which one is the starting state.
const menuMachine = Machine({
  initial: 'closed',
  states: {
    closed: {},
    opening: {},
    open: {},
    closing: {},
  },
})
Now we let our state machine know about the state transitions we want to allow. From the closed state we want to go to opening. From open we want to go to closing. Let's also allow the sliding states to be cancellable by allowing opening to go to closing and vice versa.
const menuMachine = Machine({
  initial: 'closed',
  states: {
    closed: {
      on: {
        OPEN: 'opening',
      },
    },
    opening: {
      on: {
        CLOSE: 'closing',
      },
    },
    open: {
      on: {
        CLOSE: 'closing',
      },
    },
    closing: {
      on: {
        OPEN: 'opening',
      },
    },
  },
})
Our state machine is almost done. The last thing we need to do is define some side effects that we want to happen during the opening and closing states.
We'll invoke some promise services (functions that return a promise) for these side effects, and transition to open or closed states when the sliding animation completes.
const menuMachine = Machine({
  initial: "closed",
  states: {
    closed: {
      on: {
        OPEN: "opening",
      },
    },
    opening: {
      invoke: {
        src: "openMenu",
        onDone: { target: "open" },
      },
      on: {
        CLOSE: "closing",
      },
    },
    open: {
      on: {
        CLOSE: "closing",
      },
    },
    closing: {
      invoke: {
        src: "closeMenu",
        onDone: { target: "closed" },
      },
      on: {
        OPEN: "opening",
      },
    },
  },
})
And that's it! ALL of our logic is done and it's rock solid. No unexpected states are even possible.
XState has an awesome visualizer where you can both see and play with your state machine definitions. Here's what this one looks like:
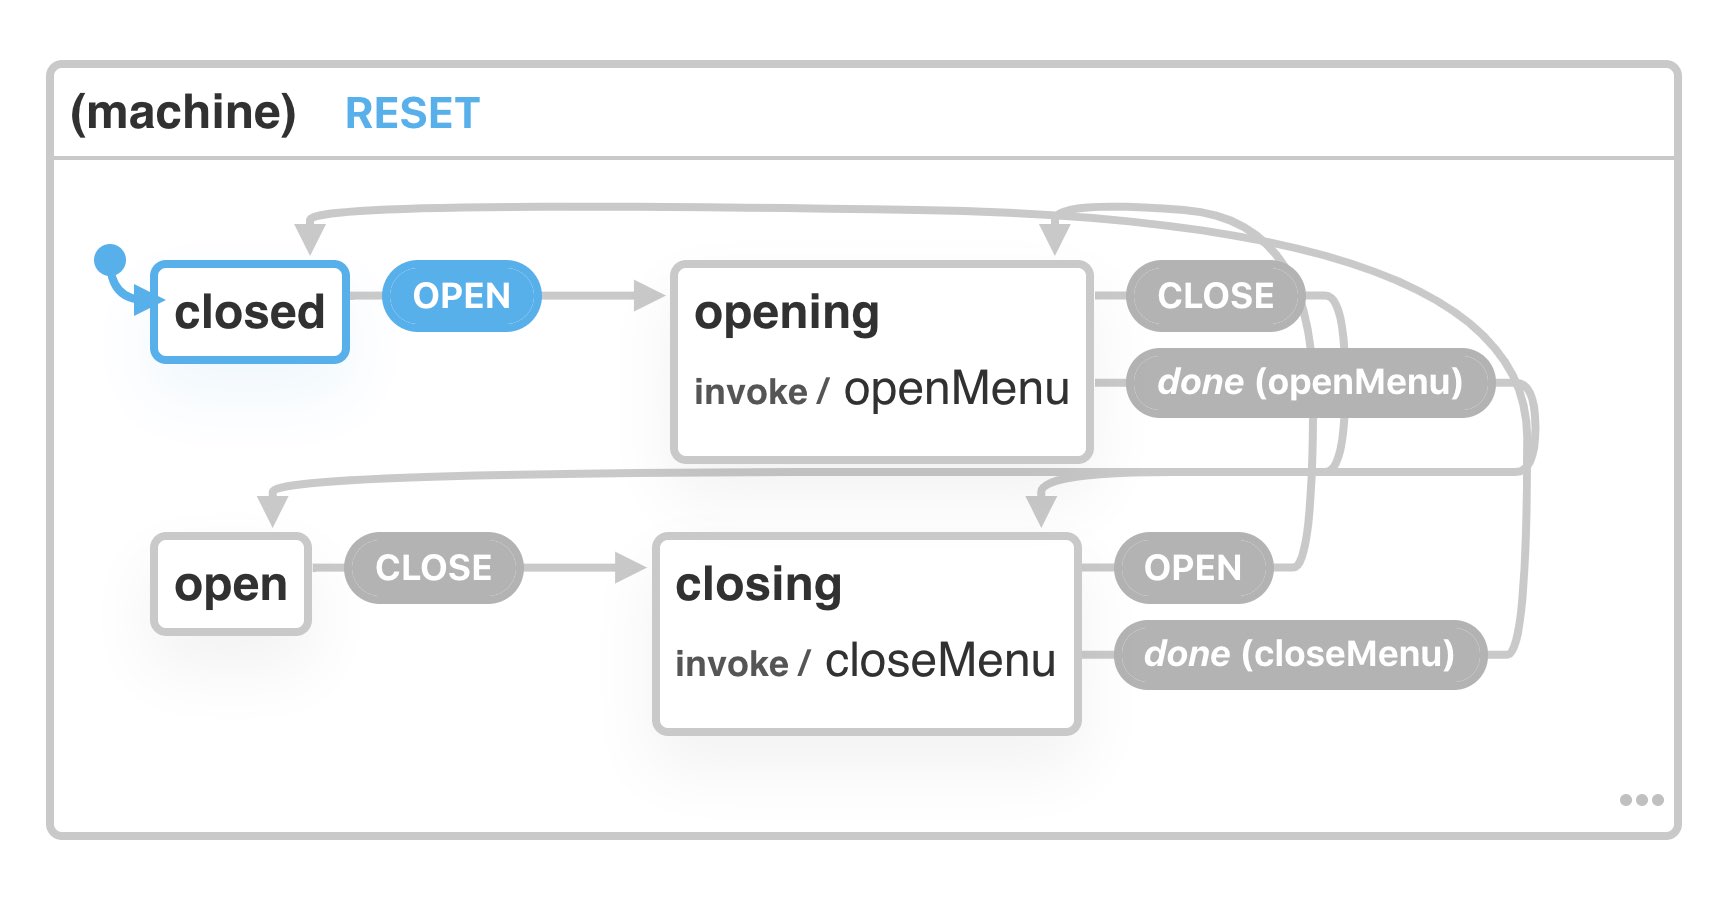
At a glance we can instantly know a ton of things about the logic of our component:
- the state begins as
closed - from
closedit can only go to theopeningstate (not to theopenstate directly). - when in
closingstate a side effect namedcloseMenuwill be invoked - when in
openingstate a side effect namedopenMenuwill be invoked - when the side effects (animations) are finished, the machine will transition automatically to the appropriate
openorclosedstate. - both the
openingandclosingstates are cancellable. (the Menu could animate open partway but then be told to animate back closed again).
Here is our Menu component demo now with a brain. But it's not very useful yet until we give it a React component body.
Implement the Body
Our brain needs a body to control. Here's our basic React component so far:
export const Menu = () => {
  let label = "open"

  return (
    <div>
      <Button
        onClick={() => { }} >
        {label}
      </Button>
    </div>
  );
};
Let's wire up our state machine to it, using the official useMachine hook in the @xstate/react package.
export const Menu = () => {
  const [current, send] = useMachine(menuMachine);

  let label = "open"

  return (
    <div>
      <Button
        onClick={() => { }} >
        {label}
      </Button>
    </div>
  );
};
This gives us the current state node that represents the state machine's current state, and a send function for when we want to tell the machine to transition to new states.
Now let's render what we want based on the current state, and wire up the button to send the right message for transitioning to the next state.
export const Menu = () => {
  const [current, send] = useMachine(menuMachine);

  const nextMessage =
    current.matches("open") || current.matches("opening") ? "CLOSE" : "OPEN";

  let label = nextMessage === "OPEN" ? "open" : "close";

  return (
    <div>
      <Button
        onClick={() => {
          // cause a transition to a new state
          send(nextMessage);
        }} >
        {label}
      </Button>
    </div>
  );
};
Sweet, now our button label is accurate, and clicking the button will transition our state machine to the right state. Feel free to play with the demo up to this point.
The only thing we're missing now is to implement those side effects our state machine wants to invoke. We'll do the following:
- use a ref so we can animate the Menu div
- implement each action using the useCallback hook for good performance and to ensure that our ref is always up to date.
- use Greensock for the animations
- our actions will return a promise that resolves when the animation is done
- configure our state machine to use our actions
It sounds like a lot but it's actually pretty straightforward!
export const Menu = () => {
  const element = useRef();

  // services the machine can "invoke".
  // useCallback ensures that our services always using the latest props/state/refs
  // so long as we add them as deps.
  const openMenu = useCallback(
    (context, event) => {
      return new Promise(resolve => {
        gsap.to(element.current, {
          duration: 0.5,
          x: 0,
          backdropFilter: "blur(2px)",
          ease: Elastic.easeOut.config(1, 1),
          onComplete: resolve
        });
      });
    },
    [element]
  );

  const closeMenu = useCallback(
    (context, event) => {
      return new Promise(resolve => {
        gsap.to(element.current, {
          duration: 0.5,
          x: -290,
          backdropFilter: "blur(0px)",
          ease: Elastic.easeOut.config(1, 1),
          onComplete: resolve
        });
      });
    },
    [element]
  );

  const [current, send] = useMachine(menuMachine, {
    // configure the machine's services.
    // these have to return a promise for XState to know when to
    // take the onDone transtiion
    services: {
      openMenu,
      closeMenu
    }
  });

  const nextMessage =
    current.matches("open") || current.matches("opening") ? "CLOSE" : "OPEN";

  let label = nextMessage === "OPEN" ? "open" : "close";

  return (
    <div ref={element}>
      <Button
        onClick={() => {
          // cause a transition to a new state
          send(nextMessage);
        }} >
        {label}
      </Button>
    </div>
  );
};
And that's it! A fully functioning React component body controlled by our state machine brain.
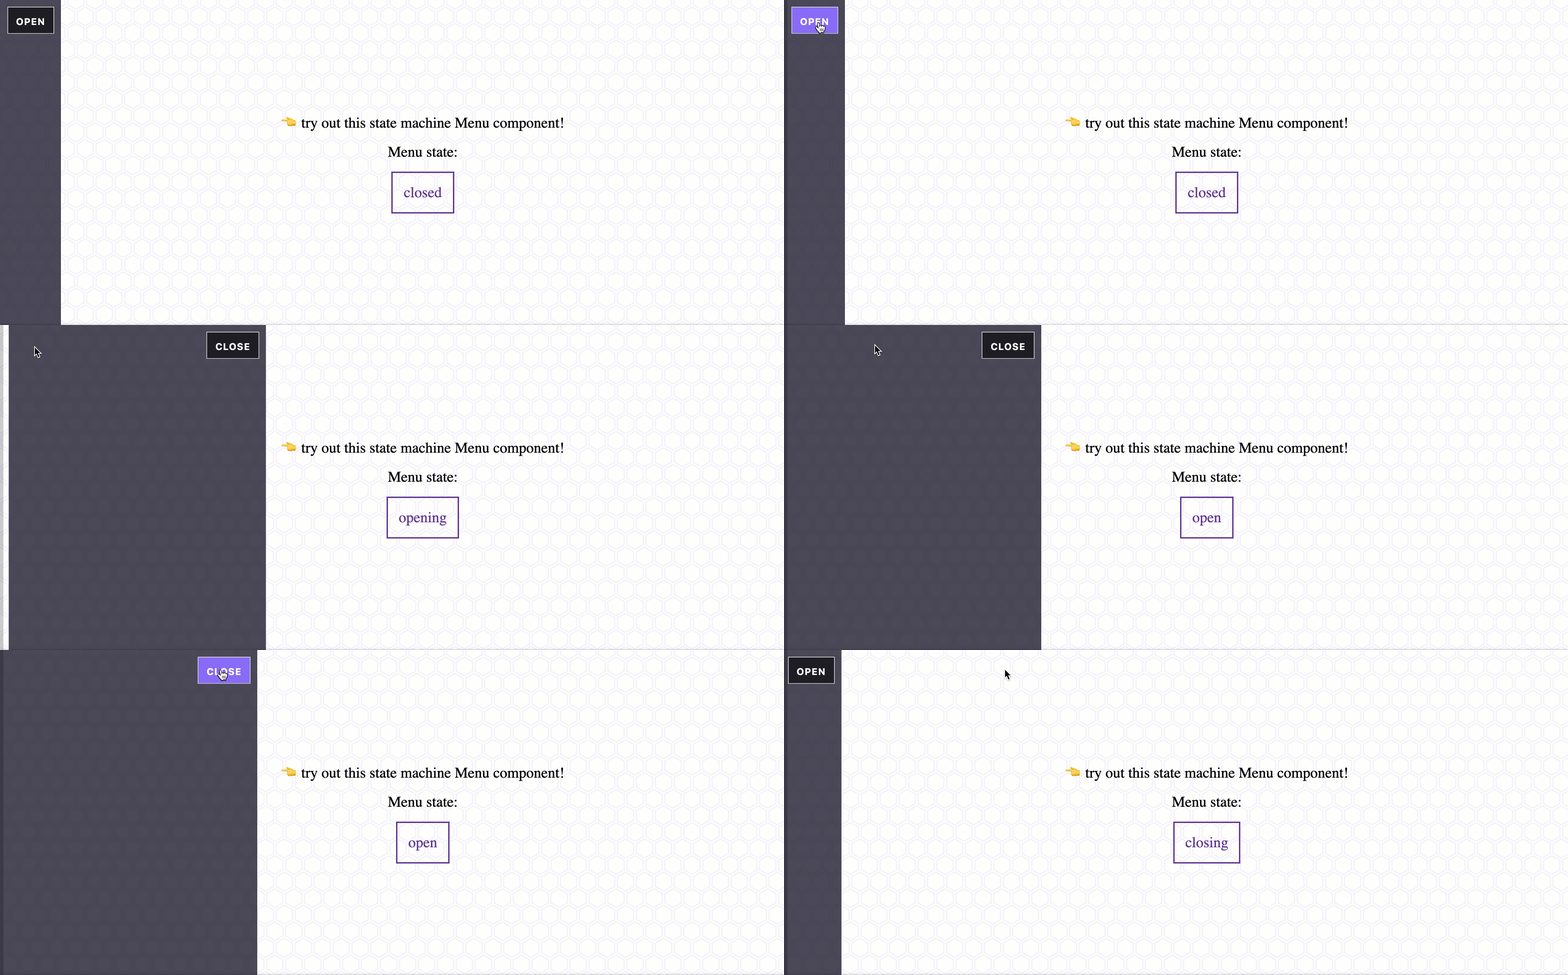
Check out the full demo!
A little bonus tip: keep the state machine component's brain and its body collocated in the same file (Menu.jsx). Goes down smooth.
State Machine Components FTW
State machines are awesome and can eliminate entire classes of bugs. State machine components are rock solid and can give you a lot of confidence in your component. As a bonus, you can think through all the logic with a pencil & paper before writing a single line of code.
And once you're using state machines you can skip writing manual tests with model based testing. Prepare to have your mind blown.
Special thanks to David for building XState and for reviewing this post.
Master CSS Grid right from the start by playing this new mastery game. You'll learn the ins and outs of Grids one fun level at a time, while saving an adorable alien life form from certain destruction.Master CSS Grid